

Furniture Painting
I have been a furniture painting machine lately. Of course, it hasn't been my furniture, but whatevs...
I have been a furniture painting machine lately. Of course, it hasn't been my furniture, but whatevs...
Within the las 6 or seven months, my parents and 2 of my sisters have moved into new house. Moving brings with it the desire for new things! Of course, that can cost a pretty penny. The solution was to simple paint items that they already had or were able to obtain for cheap (or free!)
I love a good creative project, so when they started asking me about helping them out with the painting my answer was a resounding YES!
I feel the need to preface these photos with - I'm no paint expert! Nearly everything I know I learned from my friends Jim & Nancy with 292 Sparcon at Home. They carry the Fusion Mineral Paints line as well as General Finishes and I've fallen in love with using them. If you are interested in doing some painting of your own and have questions, give them a shout! I know they'd be happy to explain the products and provide some guidance.
One thing that I can say with some authority is - You simply have to stop being afraid. It's just paint. Research your furniture to make sure you aren't depreciating the value of an antique. Other than that, your mistakes can be fixed. If not by you, then by a professional.
All that being said, here are the before & afters of our recent projects!


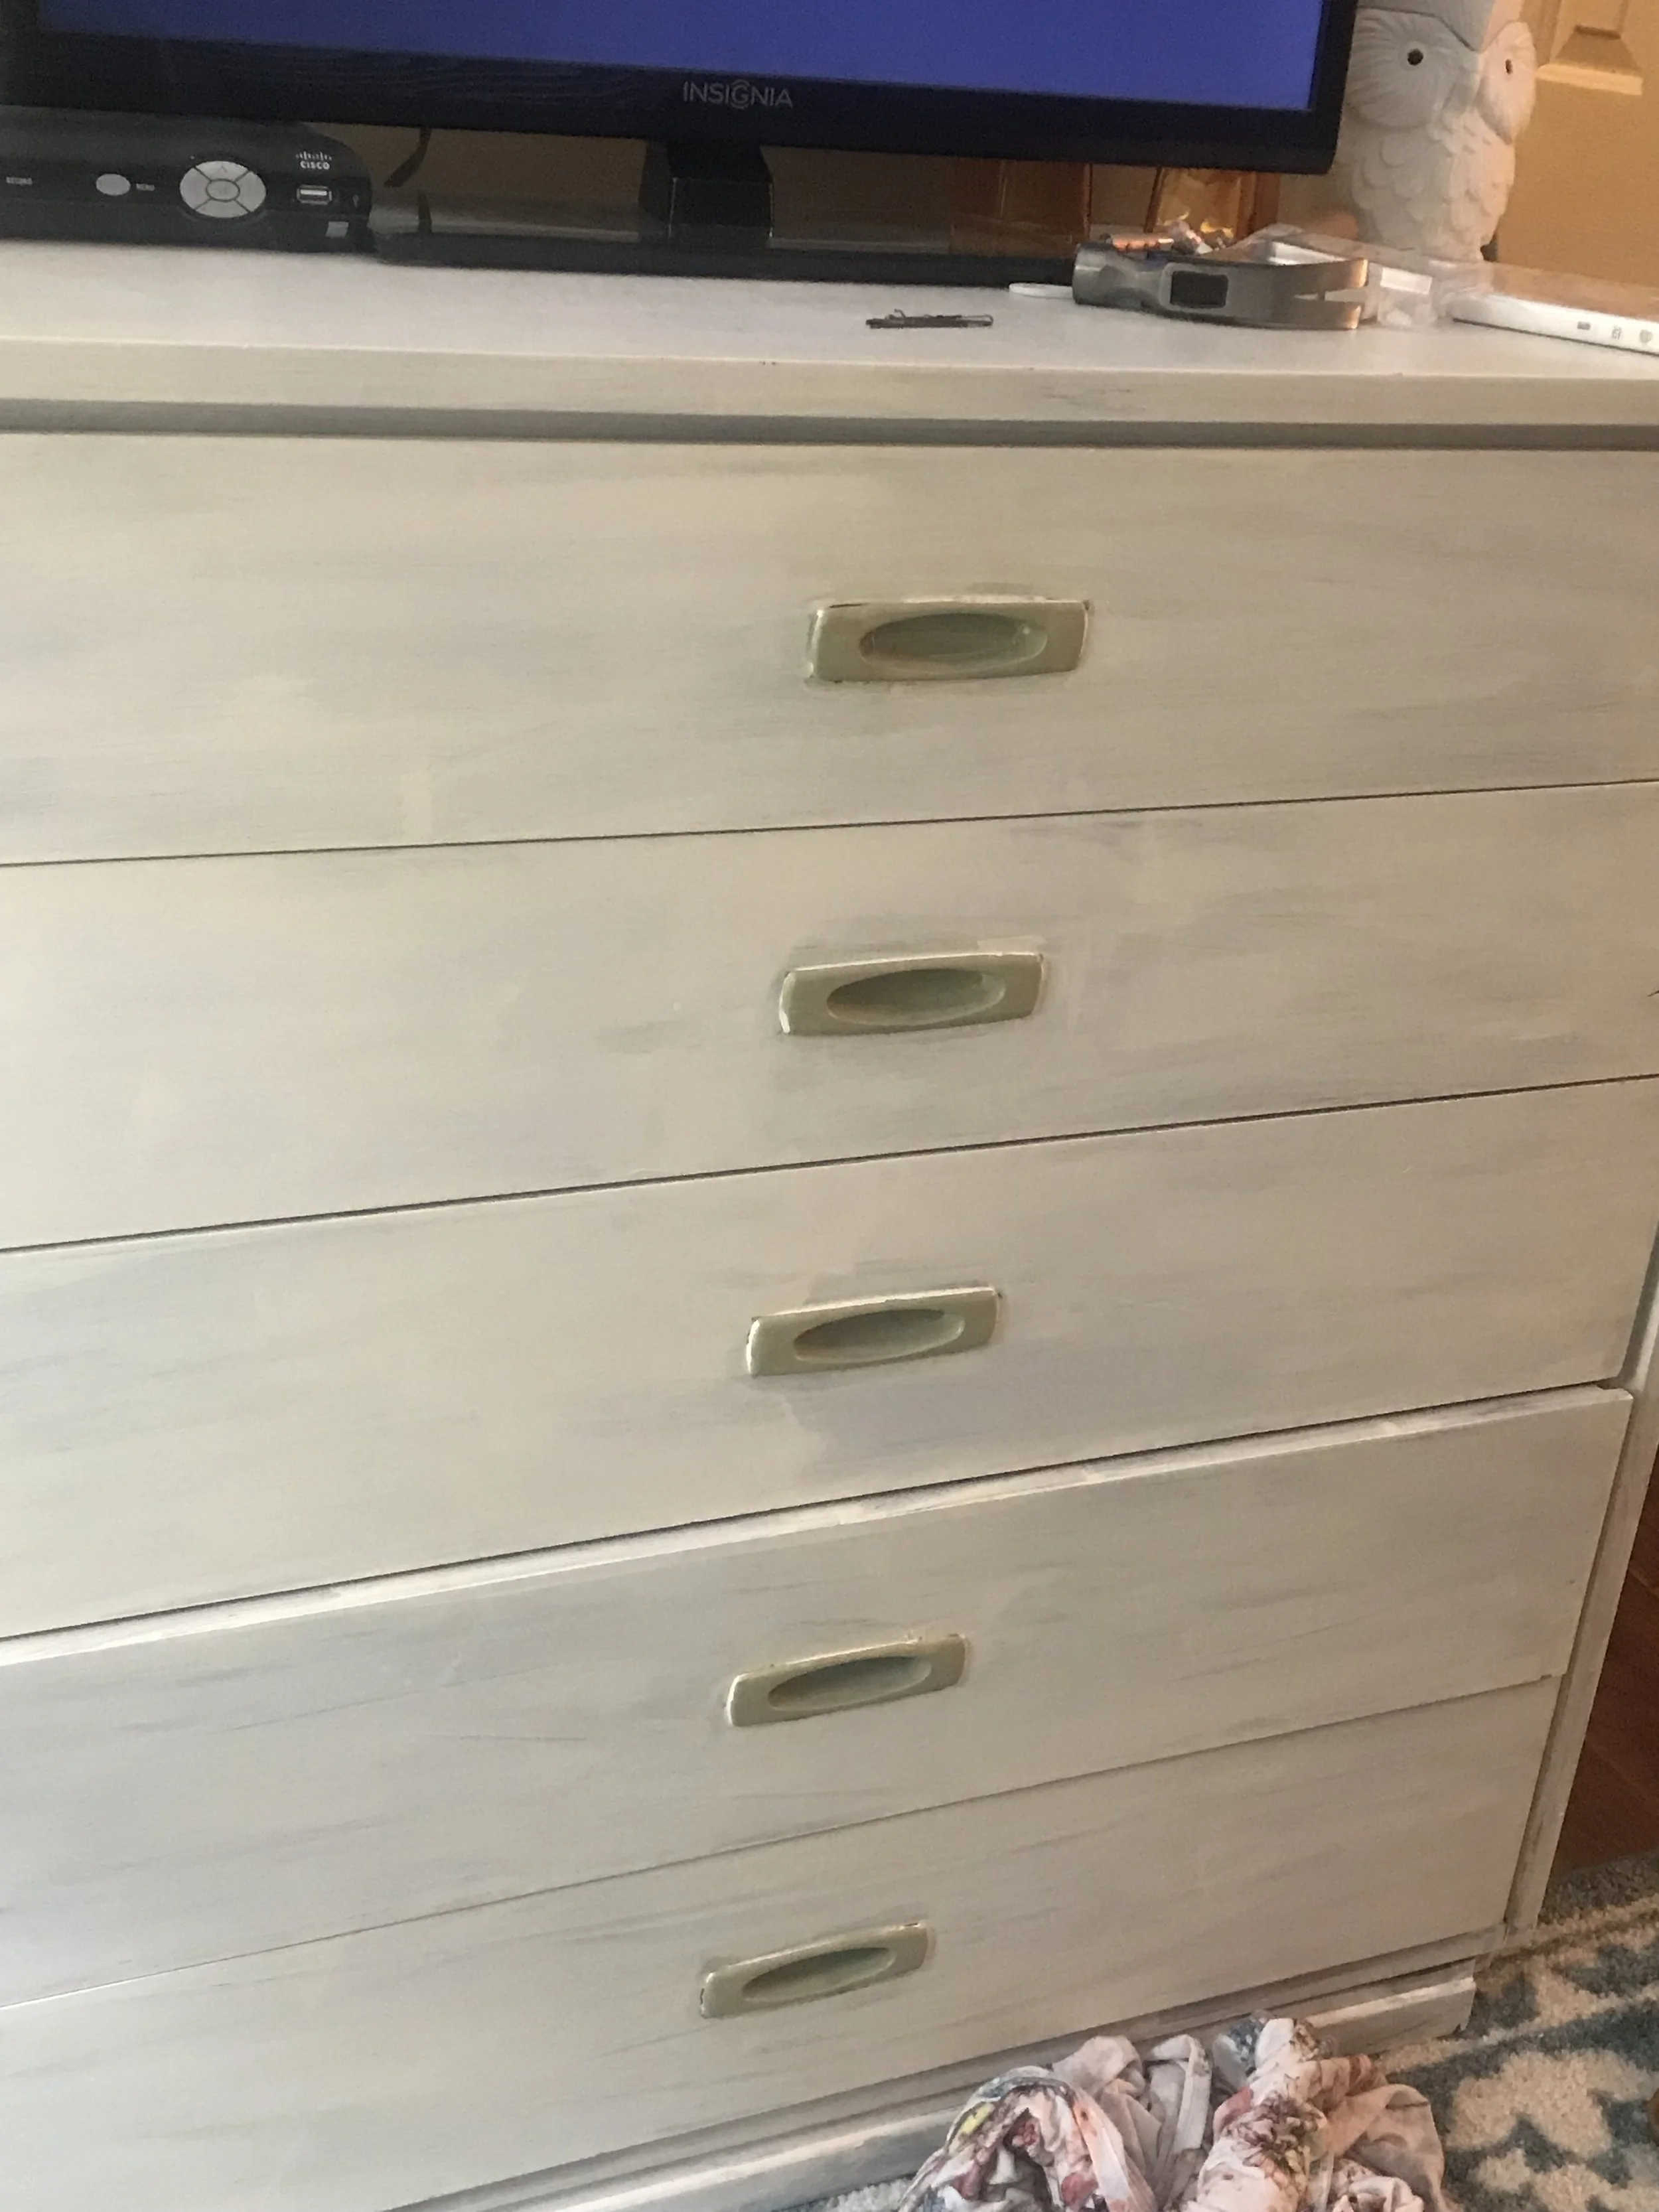
This past weekend I drove down to Summerville to visit my sister Megan & we painted that first dresser. It was such a neat piece of furniture. The texture of the pieces had so much character, it was easy to put her personality into it.


Next you can see the furniture I painted for my mom's new office! Her move from the midlands to the upstate meant that she would now be working from home. So she went looking for some fun office furniture. Her desk is a gorgeous table she ordered online & we gave this dresser & TV Console a makeover so she could use them for storage and display! I'm working from most recent to least recent and you can see that the before/after quality shows I didn't initially realize I was going to blog about it!
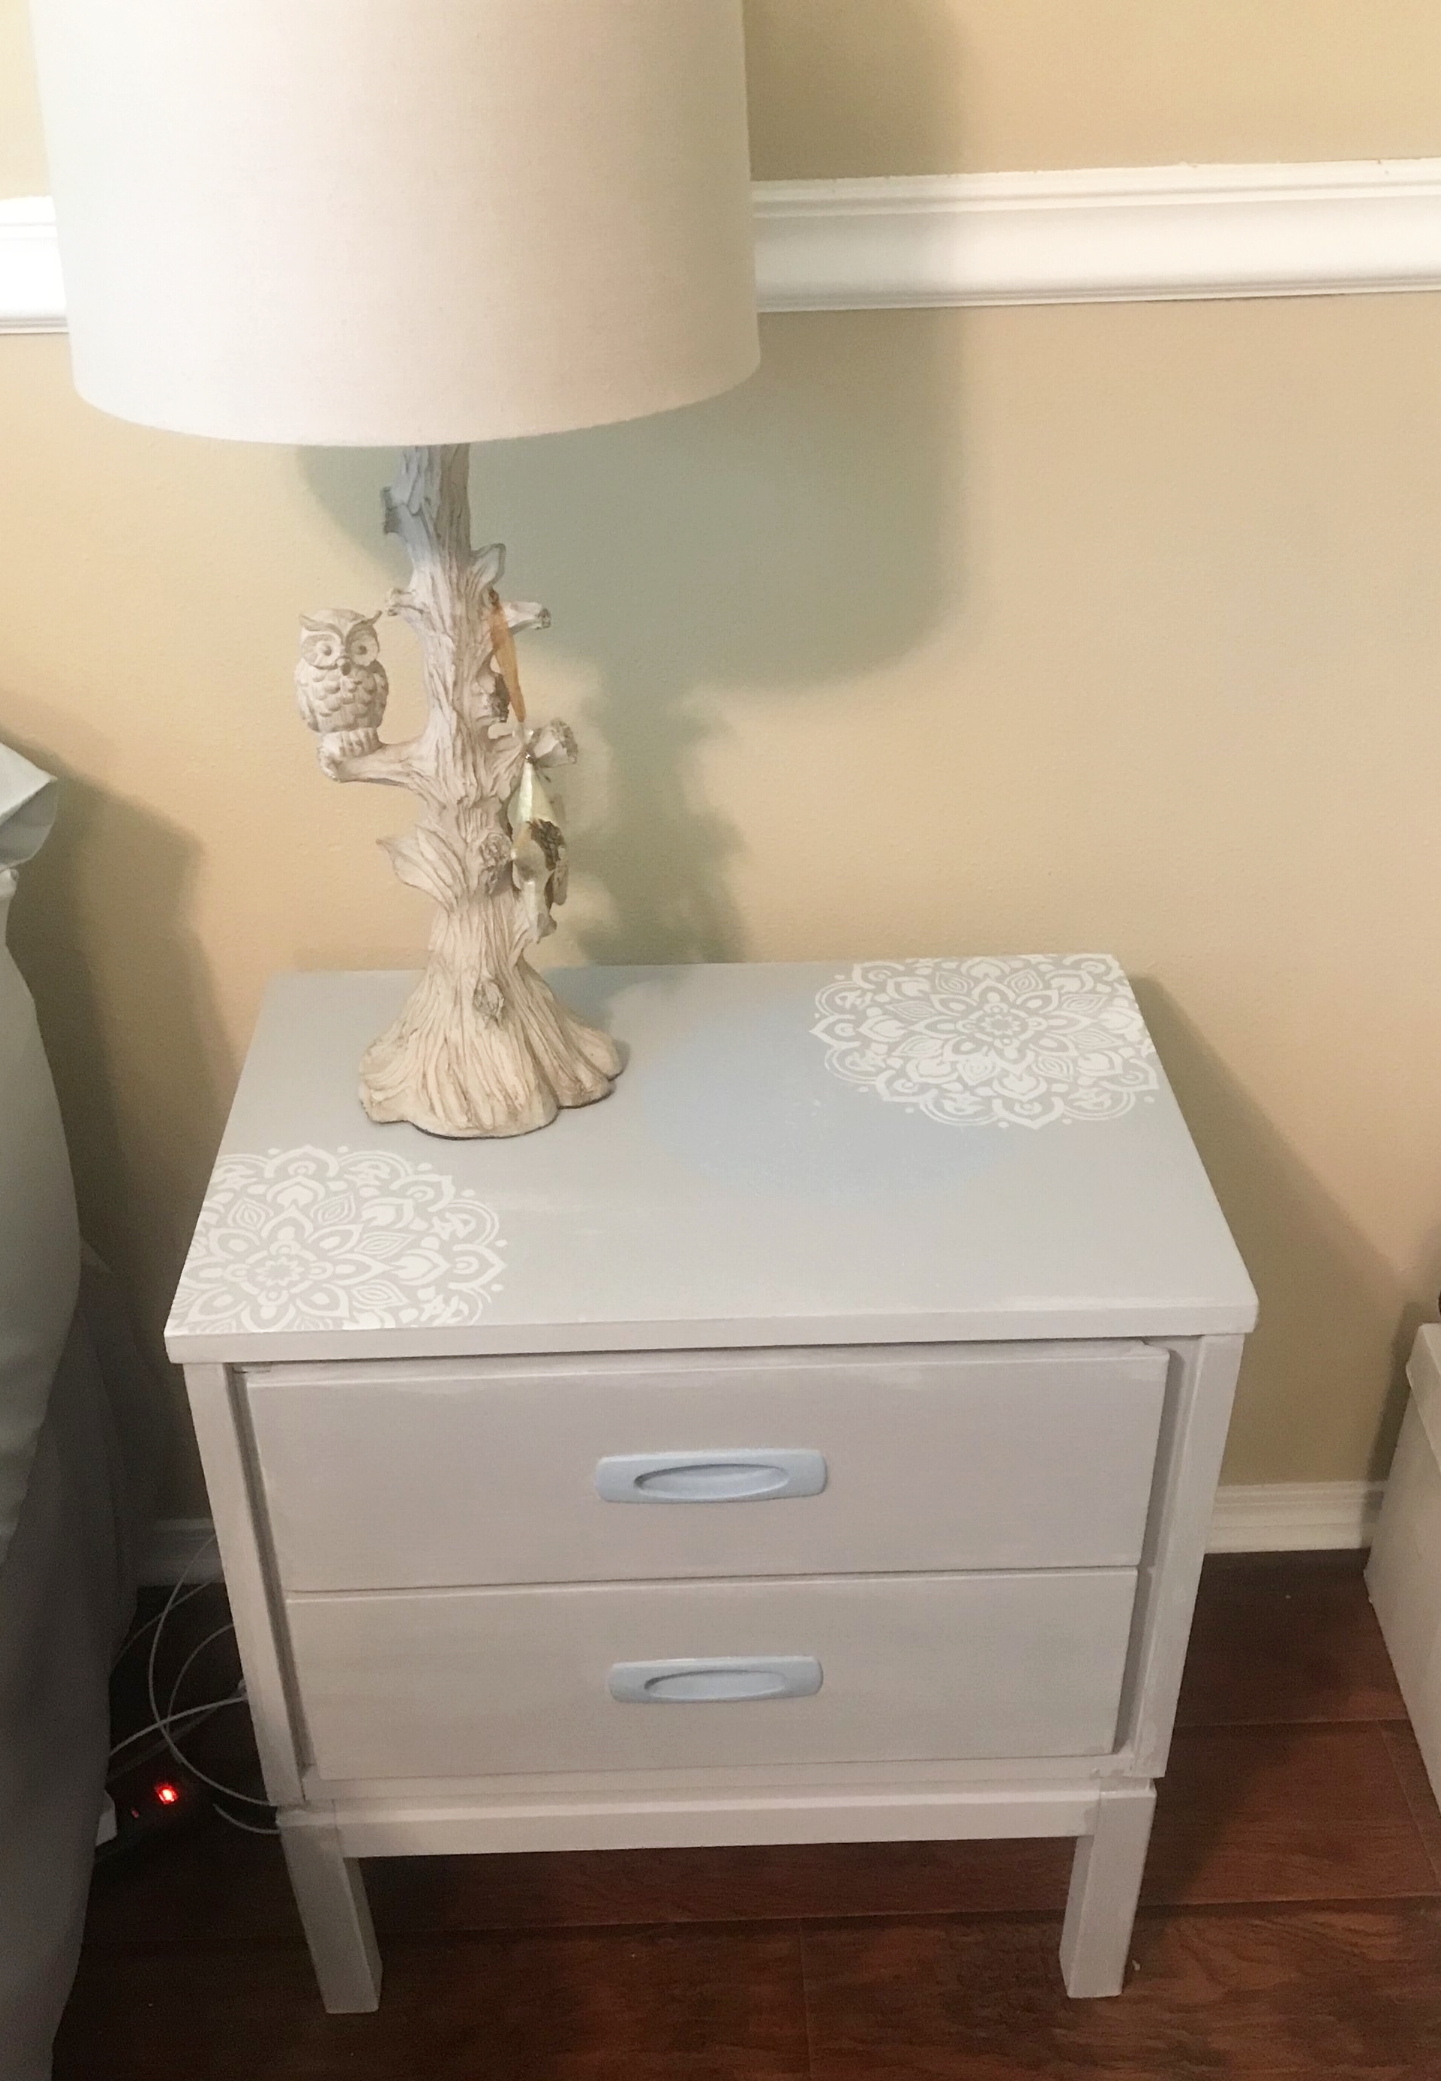


This last group is my sister Jodi's Bedroom furniture. We did some stencil detailing on the tops of the chest and nightstands. These were some really inexpensive pieces she got a while back that just needed some TLC and a color refresh to match her new bedroom.
Jodi picked out some chalk paint from Lowe's, but I purchased Fusion Paint for my Mom & Megan's pieces. I really like working with it. I even had a disastrous spill once I was finished with that TV Console and I was able to clean it up with soap & water!
I'm ready to paint my bedroom suit next! I've already purchased the paint, now I just have to clean the room out real good and find a weekend to do it!
How about you? Inspired to take on any furniture make-over projects? Tell me about it in the comments!
DIY Shave Scrub
Over past few months I've been learning a lot more about how to use essential oils to replace the chemicals and not-so-great products in our home. There are sooo many benefits to using essential oils in your diet, skin care regimen & household cleaning products! Today I want to share one of my new favorite bath and body products with you!
Over past few months I've been learning a lot more about how to use essential oils to replace the chemicals and not-so-great products in our home. There are sooo many benefits to using essential oils in your diet, skin care regimen & household cleaning products! Today I want to share one of my new favorite bath and body products with you!
I'll start by saying that I initially made two products, a body scrub & a shave cream, to use together. After going through the first batch I discovered that I much prefer just using the one product, a shave scrub.
This is a simple scrub recipe, but I've decided that using this scrub & simply rinsing the emollient away leaves the perfect amount of oil on your skin to give you a smooth, close shave. I use it on my legs and underarms regularly!

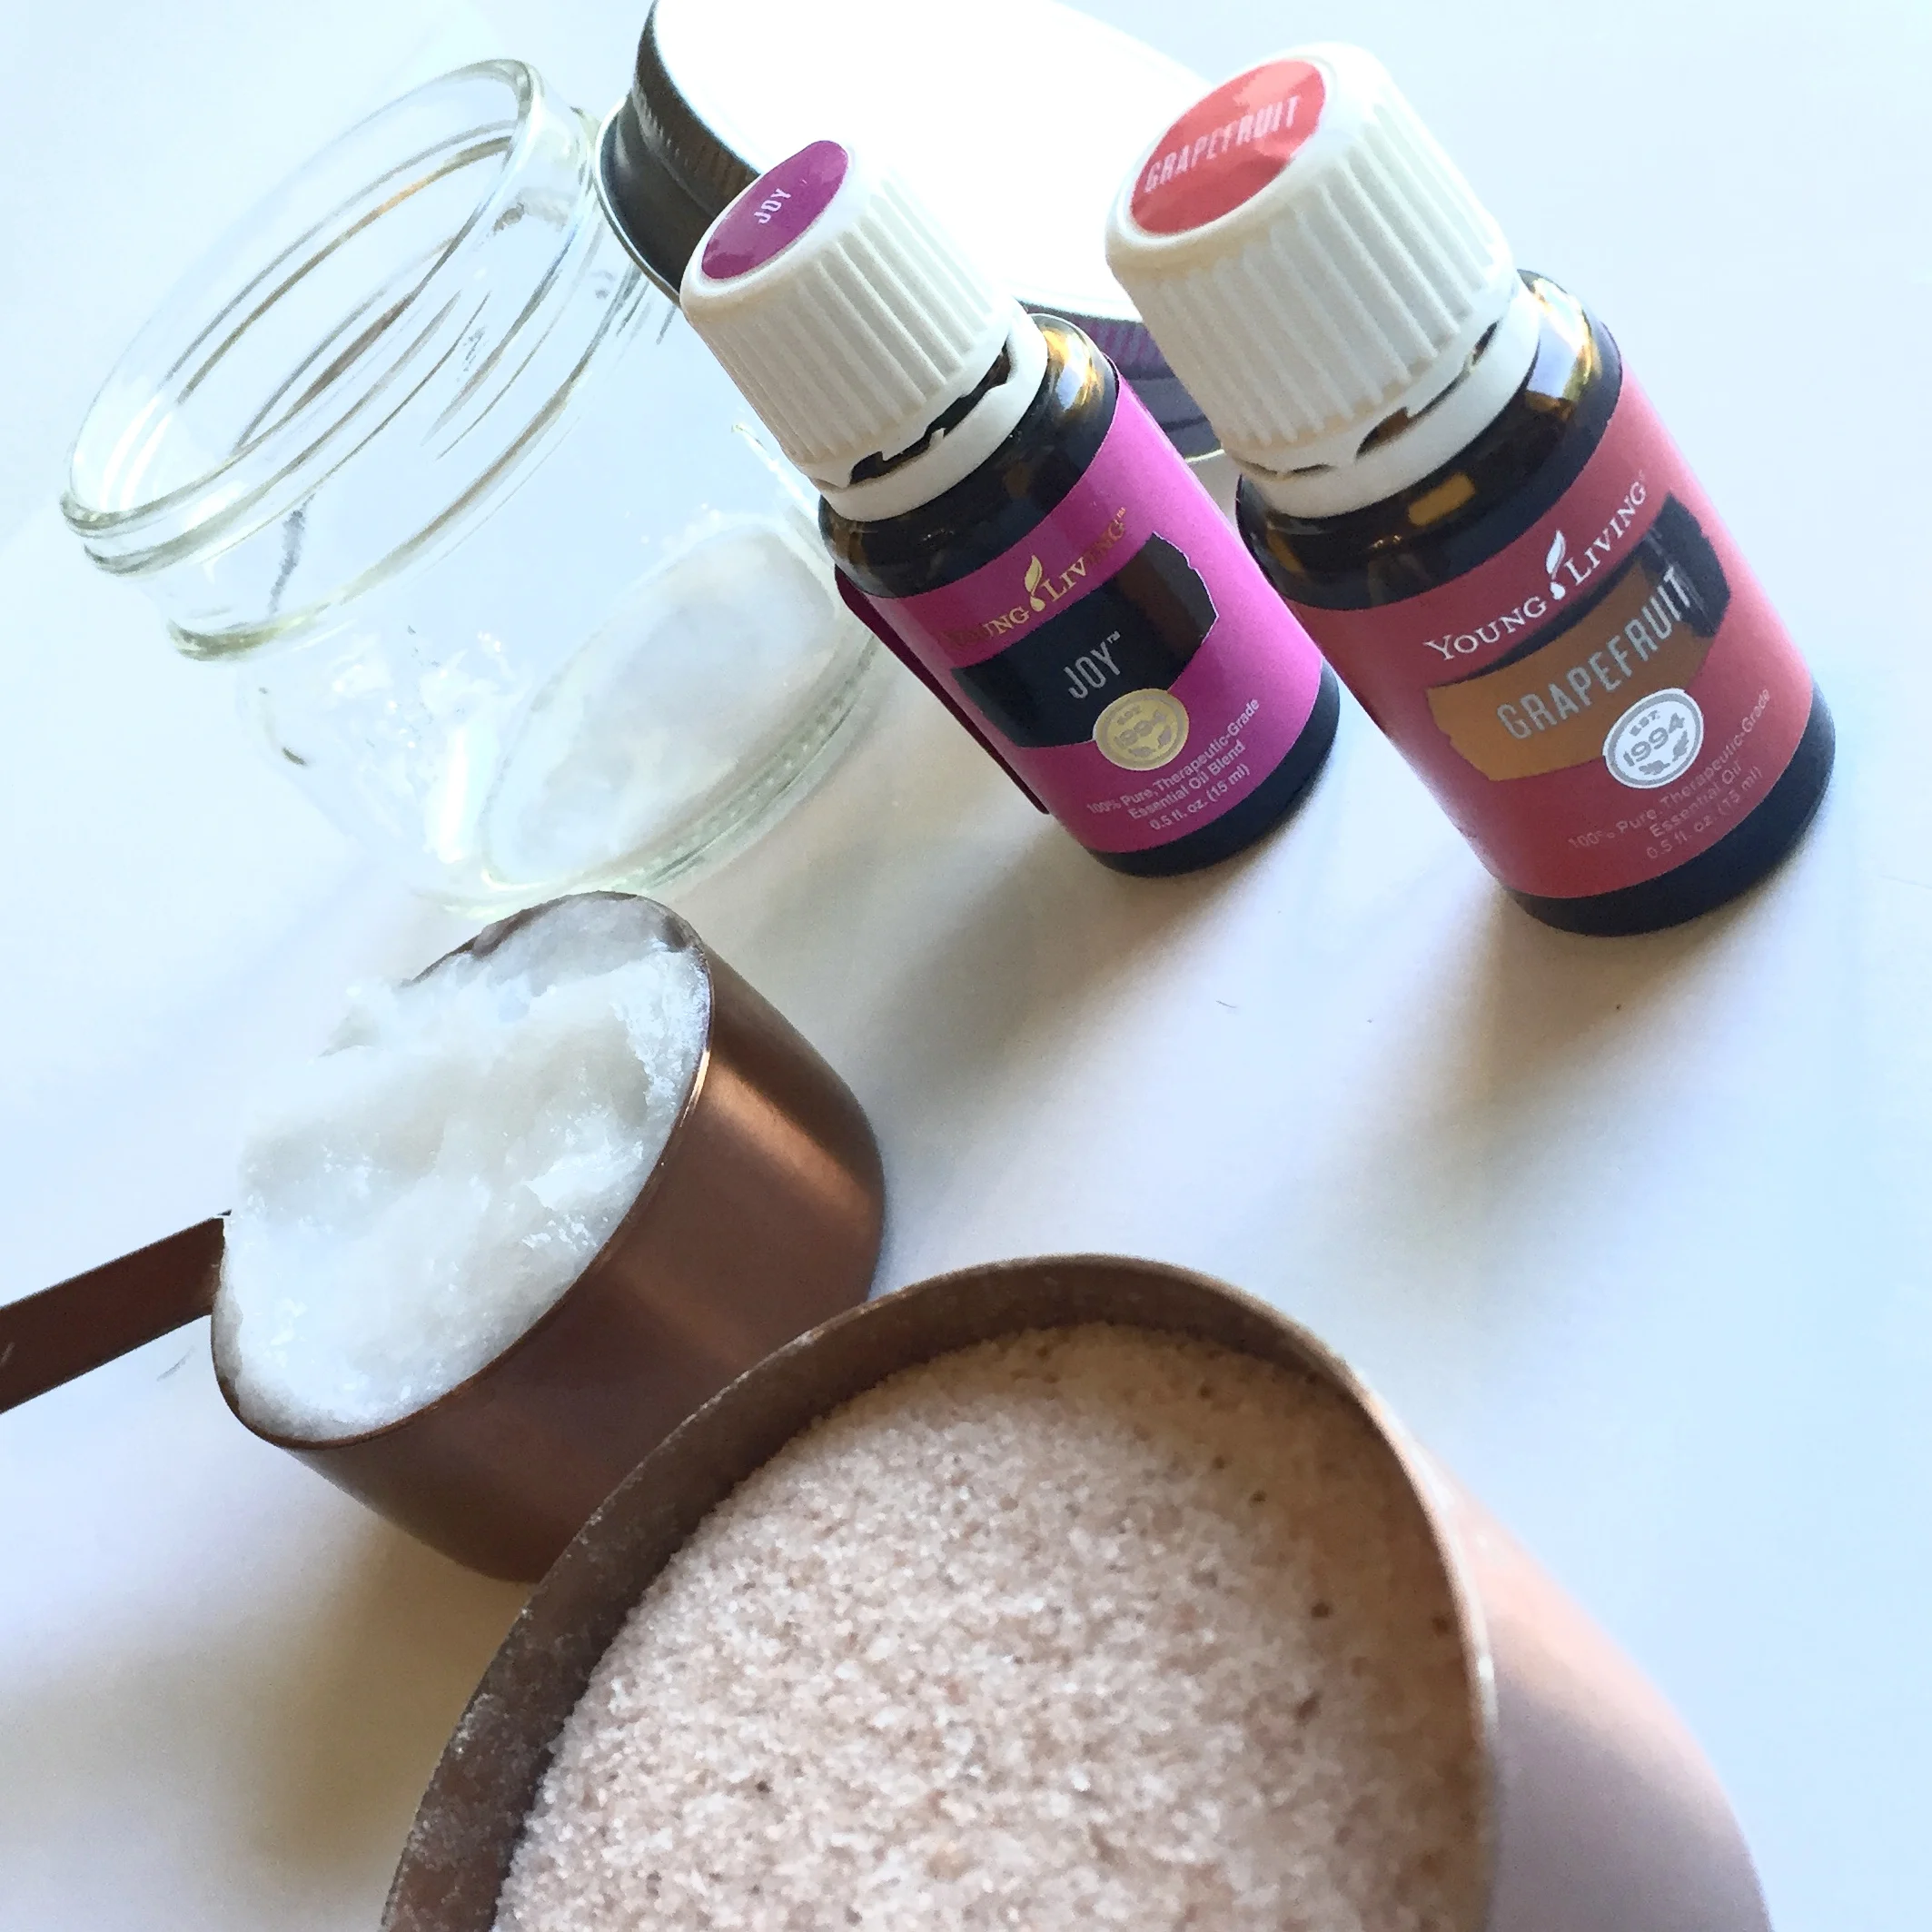
Here's what you need:
1/2 cup of Himalayan Pink Salt
1/4 Extra Virgin Coconut Oil
3 drops of Vitamin E Oil (Optional)
20 drops of your favorite essential oils
Simply mix these ingredients in this order & voila! You're done! It's a pretty basic scrub so you can use it for anything, but the Extra Virgin Coconut Oil is thicker than many of the oils you could use and that, I believe, is what makes it better for shaving without any additional products.
Of course many people have their own essential oils they like to use, I use Young Living Oils. In my most recent batch I used 10 drops of their "Joy" oil blend with 10 drops of Grapefruit Oil.
Some other good oils would be Lavender, Lemongrass, or Tea Tree.
If you have a standard tub/shower then I think using a small air-tight glass container on the side of your tub is best. However, I you have a smaller shower like I do, with narrow ledges, you can buy these reusable silicone tubes on Amazon and they fit great. If the nozzle doesn't want to give me the quantity I want easily, I simply remove the screw on top to get more out at once.
I hope you enjoy the recipe! Let me know if you try it out! I'd also love to know if you have your own essential oil blends that you like to use in Bath & Body DIYS! Let me know in the comments!
This posts contains links to my personal Young Living Site. I will earn a percentage of orders placed through these links.